Charming Snowy Owl Amigurumi: Free Crochet Pattern
Beginner Friendly
Perfect for those just starting their crochet journey, with clear instructions and simple techniques
Single-Day Project
A satisfying project you can complete in a single afternoon or evening.
Handmade Gift
A beautiful keepsake — free forever. Read online or print at home.
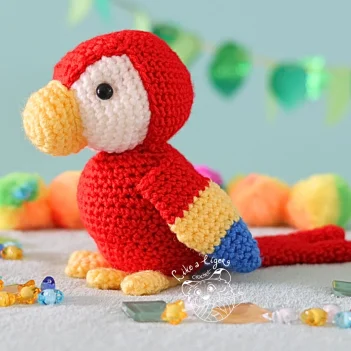
 Magic ring & first rounds
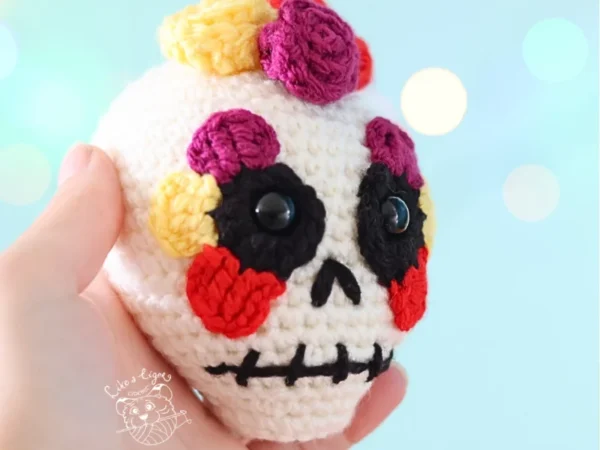
 Building the shape
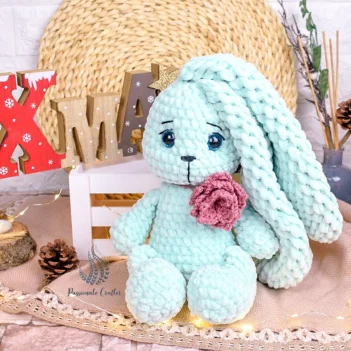
 Assembly in progress
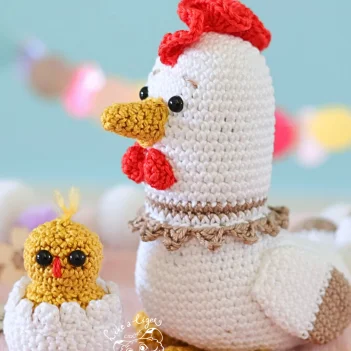
 Finished & ready!
About This Charming Snowy Owl Amigurumi: Free Crochet Pattern
Meet the Owl
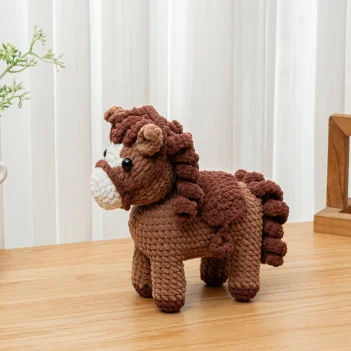
Introducing the Charming Snowy Owl Amigurumi, a delightful addition to your crochet collection. What sets this owl apart is its realistic portrayal of the beloved snowy owl. With its striking white plumage accented by subtle grey speckles, this design captures the essence of the majestic bird found in the northern regions. The pattern emphasizes intricate wing and tail feather details, making it a standout piece for any bird enthusiast or crochet aficionado.
The pattern includes carefully crafted feet with claw details and a distinctive beak that mirrors the owl’s natural features. This design is perfect for those looking to create a lifelike representation of this iconic bird. Unlike other owl patterns, the Charming Snowy Owl Amigurumi focuses on achieving a realistic finish through thoughtful design choices in stitch and color.
Who Is This Pattern For?
This pattern is ideal for crocheters of all skill levels. Beginners will find the clear instructions and step-by-step guidance easy to follow, while more experienced crafters will appreciate the opportunity to refine their skills with detailed techniques. It’s a wonderful project for those looking to create a charming display piece or a thoughtful gift for wildlife lovers.
The Charming Snowy Owl Amigurumi makes an excellent gift for birthdays, holidays, or special occasions. It’s a great choice for children and adults alike, offering a whimsical touch to any room. The completed owl can be a delightful addition to a nursery or a unique decoration for a winter-themed event.
Whether you’re making it for yourself or as a gift, this pattern is sure to bring joy to anyone who appreciates the beauty of owls. The finished piece is both a conversation starter and a testament to your crochet skills.
What Your Finished Owl Will Look Like
Your completed Snowy Owl Amigurumi will stand approximately 15 cm tall. The body will feature a soft white color, reminiscent of freshly fallen snow, with subtle grey speckles adding depth and texture. The wings and tail feathers are crafted to lie flat against the body, enhancing its realistic appearance.
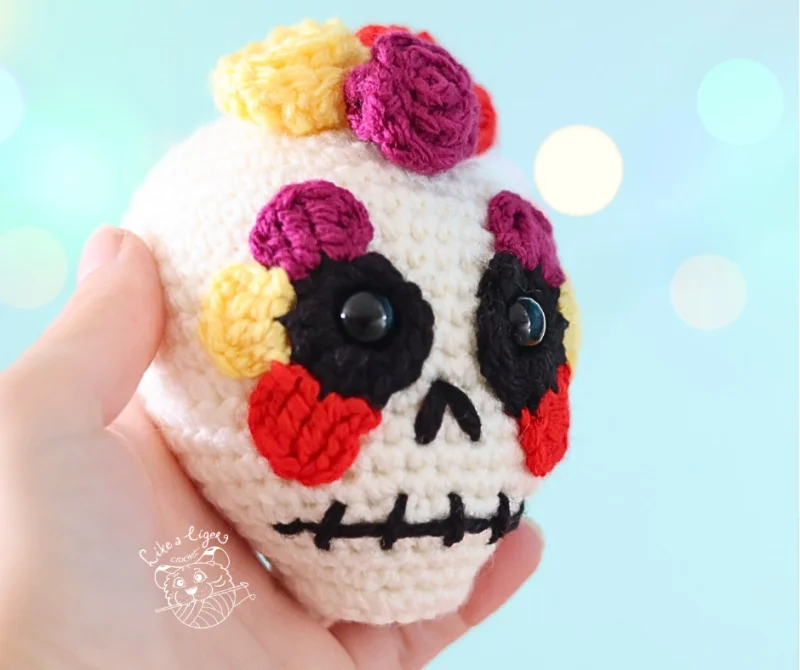
The owl’s eyes, made with safety eyes, will have a captivating black hue, bringing an element of life and character to its face. The beak and feet will be made in a contrasting shade, such as a soft beige or light brown, to highlight the owl’s natural features.
This enchanting owl is designed to be displayed proudly on a shelf, desk, or even as part of a winter-themed scene. Its lifelike features and charming presence make it a perfect decorative piece for any setting.
Choosing Yarn
When selecting yarn for this project, consider using worsted weight yarn for its balance of structure and softness. Lion Brand Pound of Love in Antique White is an excellent choice for the main body, offering both durability and a pleasing texture. For the grey speckles, try Paintbox Simply Aran in Light Grey to achieve subtle contrast.
Avoid using fluffy or chenille yarns, as they can obscure the stitch definition crucial for capturing the owl’s intricate details. Instead, opt for a 100% acrylic yarn, which is machine washable and holds its shape well. For a premium finish, consider Scheepjes Stonewashed XL for its luxurious feel and unique texture.
Budget-conscious crafters can use Red Heart Soft, which provides a wide range of colors and a soft finish. Regardless of your choice, ensure your yarn selection complements the realistic look of the snowy owl.
Tips Before You Start
Before diving into this project, ensure you have all the necessary materials and tools prepared. Pay particular attention to maintaining consistent tension throughout, as this will affect the overall appearance and size of your owl. Practice your hook grip to ensure comfort and control, especially during detailed sections like the feet and beak.
It’s essential to use stitch markers to track your rounds accurately, especially in areas where precise stitch counts are crucial for shaping. Take your time with the wings and tail feathers, as their flat construction is key to the owl’s realistic look. Avoid common pitfalls such as uneven stuffing or misaligned facial features by following the pattern closely.
Before starting, read through the entire pattern to familiarize yourself with the sequence and special techniques used. This preparation will help you anticipate any challenges and enjoy a smooth crafting experience.
More Free Patterns
Explore our all free amigurumi crochet patterns for even more adorable projects that will spark your creativity.
For premium designs with extra detail, visit our premium amigurumi PDF patterns shop and discover exclusive patterns.
Pattern tested by the CozyAmigurumi team. Every round has been stitched, counted and verified before publishing — so you can crochet with confidence.
Starting rounds — magic ring and first increases
Why You'll Love This Pattern 💛
The design of the Charming Snowy Owl Amigurumi is a testament to thoughtful construction choices. The pattern employs techniques such as invisible decreases and well-placed increases to create a smooth, rounded shape for the head and body. The flat wings are a deliberate choice, allowing for a realistic draping effect when attached to the body. These construction elements work in harmony to produce a piece that is both visually appealing and structurally sound, setting it apart from more simplistic owl patterns. The finished owl is truly a sight to behold. Its body, crafted in a pristine white yarn, is subtly accented with grey speckles, evoking the natural beauty of a snowy landscape. The contrasting beige beak and feet add a touch of warmth, while the striking black safety eyes lend the owl a lifelike gaze. When displayed, the owl's flat wings and detailed tail feathers enhance its realistic silhouette, making it a captivating decorative piece for any setting, whether it be a child's room or a cozy reading nook. Creating the Charming Snowy Owl Amigurumi is a fulfilling experience that offers both challenges and rewards. The process of shaping the owl's features, from its expressive eyes to its detailed feet, provides a sense of accomplishment with each completed section. As you work through the pattern, you'll enjoy moments of satisfaction, such as perfecting the beak's sharp taper or achieving the ideal tension for the wings. This project is perfect for anyone who cherishes the elegance of owls and enjoys crafting pieces that reflect nature's beauty.
Shaping with increases — building the body
Switch Things Up 🎨
Choosing the right color combinations can elevate your Charming Snowy Owl to new heights. Consider using a soft cream for the body with light brown speckles for a warmer look. A pale blue with white speckles can evoke a frosty winter scene, while a classic black and white combination offers a timeless appeal. For a more playful version, try pastel hues like lavender with grey accents or a cheerful yellow with white. Each color choice brings its own charm, allowing you to customize the owl to suit its intended environment. The size of your Snowy Owl Amigurumi can be adjusted by changing the yarn weight and hook size. Using a sport weight yarn with a 2.5mm hook will create a smaller, more delicate owl, approximately 10 cm tall. A bulky yarn paired with a 5.0mm hook will yield a larger, more huggable version, around 20 cm tall. For a miniature version, consider a fine lace yarn with a 1.75mm hook, resulting in an owl about 8 cm in size. These variations allow you to tailor the owl to fit specific display spaces or gifting needs. Personalizing your owl with accessories or seasonal touches can add even more charm. Consider crafting a tiny scarf in a contrasting color for a winter-themed owl, or add a small felt flower for a spring version. A tiny crochet hat could transform your owl into a whimsical character. For holiday flair, embellish with gold thread or tiny bells. You might also embroider initials on the owl's belly for a personalized gift. Each addition makes your owl truly unique, reflecting the personality and preferences of its creator.
Colour variations — personalise your make
Common Mistakes & How to Fix Them 🔧
Ensure both wings are crocheted with the same tension and stitch count. Use stitch markers to track your progress and verify each row matches the pattern.
Place safety eyes at the specified round and stitch count. Use pins to preview their position before attaching permanently.
Crochet the beak with a smaller hook size to maintain tightness and shape. Ensure each decrease is performed carefully to avoid gaps.
Firmly stuff the body and use a cardboard disc at the base to provide stability. Ensure stuffing is even to prevent leaning.
Pin feet in place before sewing to the body. Check alignment by standing the owl upright and adjusting as necessary.
Follow the pattern closely and check stitch count at the end of each round. Adjust tension to maintain symmetry.
Consider using craft wire inside the wings for stability if they sag after attachment. Ensure wire ends are securely tucked away.
Stuff the head gradually, checking for firmness without bulging. Adjust stuffing to achieve a balanced shape.
Test yarn for colorfastness before starting, especially if using bright or contrasting colors. Pre-wash if necessary.
Use a ruler or measuring tape to ensure symmetry when positioning and sewing facial elements.
Assembly stage — pinning pieces before sewing
Materials Needed for Charming Snowy Owl Amigurumi: Free Crochet Pattern
🧶Yarn
80g (main body Owl)
40g (wing speckles)
20g (beak and feet)
10g (facial details)
budget alternative, wide colour range
they obscure stitch definition completely
machine washable, durable, holds shape well
good for warm climates and firmer shapes
blunt tip, for weaving in yarn ends
small precision scissors for clean yarn cuts
for applying blush
optional, for stable weighted base inside body
for organising yarn colours while working
🪝Tools & Notions
primary brand recommendation, ultra-soft and washable
budget alternative, excellent stitch definition
premium alternative for luxury finish
US size E-4 (main hook for all major sections)
US size D (small detailed parts, tighter tension)
US size C (very small accent pieces)
larger eye, for assembling heavy sections
for embroidery work
80-100g (premium polyfill recommended)
minimum 8 — one per active section
minimum 6 — for tracking round starts precisely
for cutting fiberfill and cardboard
10mm black x2 — child-safe snap-back type
spare set in case of loss
6-strand, for facial details and outlines
for beak outline and detail
optional, for poseable wings or display perch
optional display perch accessory
minimum 20, for positioning all parts before joining
for marking stitch positions
for rosy cheeks and facial warmth
for extra safety eye security in toys for young children
digital or mechanical, STRONGLY recommended for long rounds
for checking finished size and piece proportions
for consistent embroidery spacing
optional, for poseable legs, tail, or neck
to keep your Owl project organised
— Gauge:
18 sc = 4 inches
— Finished Size:
~15 cm tall
— Yarn Weight:
Worsted
— Hook:
3.5mm
— Terms:
US Crochet Terminology
— Cost:
FREE ✓
Crochet Abbreviations
Charming Snowy Owl Amigurumi: Free Crochet Pattern — Full Pattern
🧶Pattern
Assembly & Finishing Tips
💡 Aligning the Wings
Pin the wings to the body before sewing to ensure even placement. Check that both wings are at the same height and angle for symmetry.
💡 Attaching the Beak
Position the beak centrally between the eyes, ensuring it is evenly aligned. Use a smaller needle for precision stitching.
💡 Securing the Feet
Place the feet at the base of the body and pin in place. Ensure they are evenly spaced and aligned to prevent tilting.
💡 Positioning the Eyes
Use pins to mark the eye positions before attaching. Ensure they are level and symmetrical for a lifelike appearance.
💡 Sewing the Head to the Body
Align the head with the body, ensuring the facial features face forward. Use a whip stitch for a secure join.
💡 Adding the Tail
Attach the tail at the back of the body, ensuring it is centered and aligned with the wings. Pin in place before sewing.
💡 Embroidering Details
Use a ruler to measure and mark positions for embroidery. This ensures consistency and symmetry in facial details.
💡 Blushing the Cheeks
Apply blush with a cotton swab, using gentle circular motions to achieve a natural look. Test on a swatch first to ensure even application.
⚠️ Important Notes
- Use stitch markers at the start of every round — don't rely on memory to count.
- Work with consistent tension throughout. Gauge swatch before starting if in doubt.
- Fasten off leaving long tails for sewing — at least 30cm for each piece you'll need to attach.
- Pin and check positioning of all pieces before sewing any of them permanently.
Beginner's Guide to Amigurumi 🌱
Amigurumi is the art of knitting or crocheting small stuffed toys, and this snowy owl pattern provides a perfect introduction. The Charming Snowy Owl Amigurumi embraces the core principles of amigurumi, focusing on creating a lifelike representation through detailed shaping and clever construction techniques. You'll learn how to bring this iconic bird to life with simple yet effective crochet methods, making it an ideal project for beginners eager to explore the world of amigurumi.
The magic ring technique is essential in this project, as it forms the foundation for each part of the owl. By starting with a magic ring, you'll ensure a tight, seamless beginning for the head, body, and other components. This technique is crucial for achieving a polished finish, as it prevents unsightly gaps in your work. Practicing the magic ring will build your confidence and set the stage for the rest of the project.
Increases and decreases play a vital role in shaping the owl's features. Strategic increases help create the rounded head and full body, while decreases are used to taper the beak and define the feet. Mastering these techniques will enable you to control the dimensions and contours of your crochet, giving you the ability to create detailed, three-dimensional forms that capture the essence of your subject.
Maintaining proper tension is key to a successful amigurumi project. For the Charming Snowy Owl, consistent tension ensures that the body holds its shape and that features like the wings and tail lay flat as intended. Finishing touches, such as attaching safety eyes and embroidering facial details, require precision and care. By focusing on these elements, you'll enhance the overall appearance of your owl and develop skills that will serve you well in future projects.
The finished Charming Snowy Owl Amigurumi: Free Crochet Pattern — ready to gift or display
You Ask, We Answer ❓
Yes, this Charming Snowy Owl Amigurumi pattern is available for free, providing you with step-by-step instructions to create your own owl.
You are welcome to sell finished items made from this pattern, but please credit CozyAmigurumi as the designer.
A worsted weight 100% acrylic yarn is recommended for its durability and shape retention. Avoid fluffy yarns to maintain stitch definition.
Use a cardboard disc in the body base and ensure even stuffing. Adjust the feet placement to provide stability.
Absolutely! Experiment with different color combinations for a unique look. Consider natural hues or playful pastels.
Ensure you are using small amounts of stuffing at a time, pressing it firmly into place. For a firmer finish, use a finer hook size.
Check your stitch count and tension. Re-position before final sewing, and use pins to align correctly.
Use pins to mark precise locations and verify symmetry before permanently attaching safety eyes.