Mini Mushroom Amigurumi — Free Crochet Pattern
Beginner Friendly
Perfect for those just starting their crochet journey, with clear instructions and simple techniques
Single-Day Project
A satisfying project you can complete in a single afternoon or evening.
Handmade Gift
A beautiful keepsake — free forever. Read online or print at home.
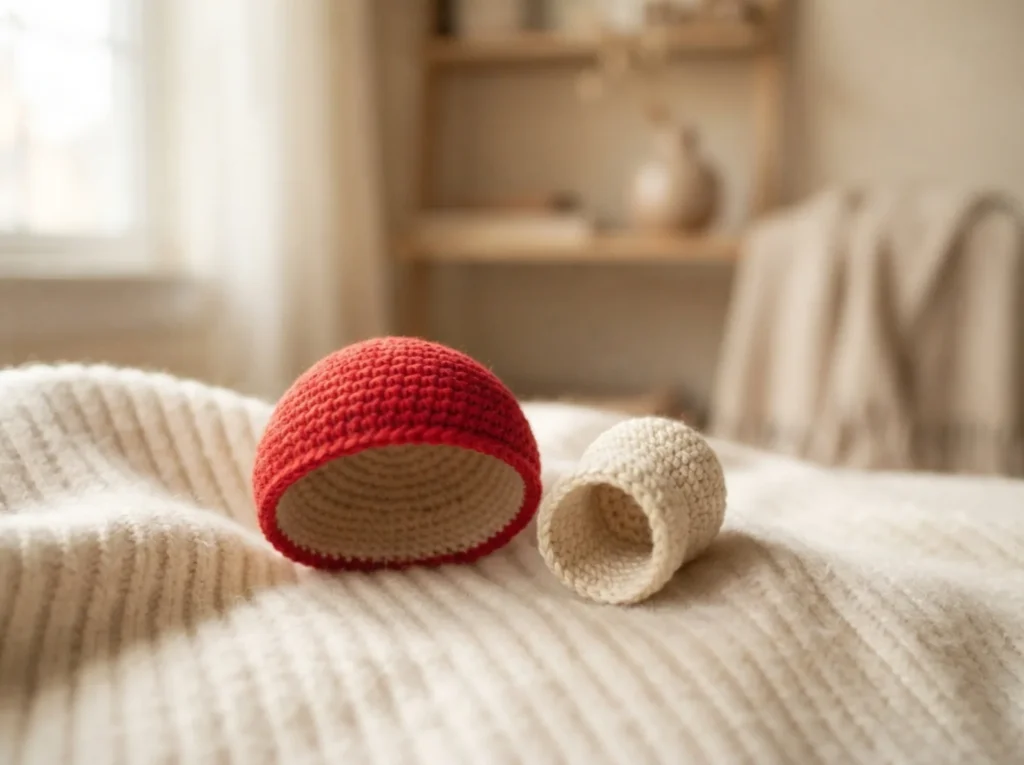
 Magic ring & first rounds
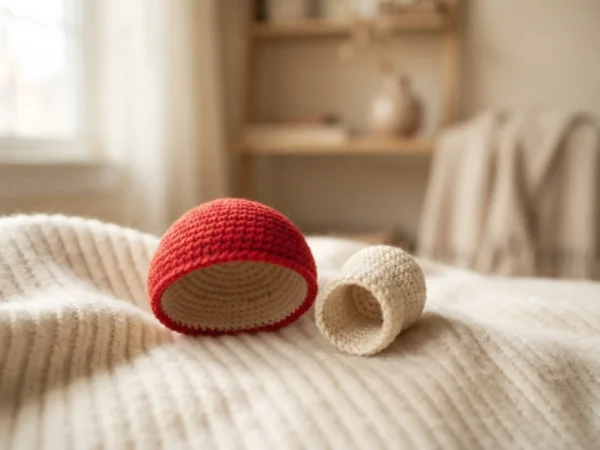 Building the shape
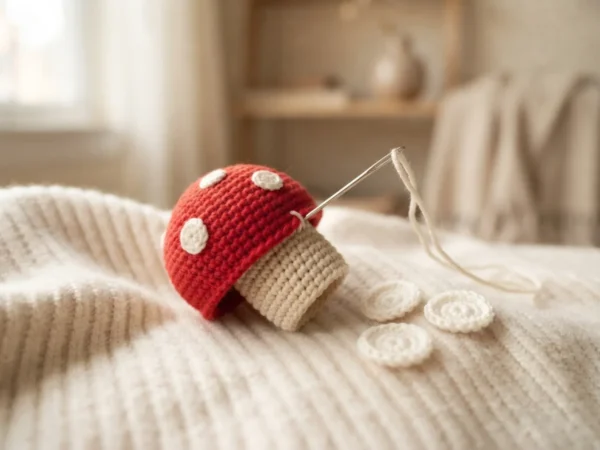 Assembly in progress
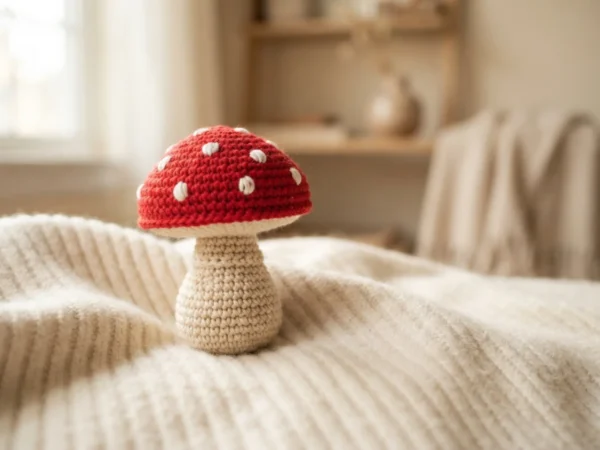 Finished & ready!
About This Mini Mushroom Amigurumi — Free Crochet Pattern
Welcome to the Mini Mushroom Amigurumi — a quick, satisfying make that’s perfect if you want to finish something in one sitting. No shaping for arms or legs, no tricky increases, just two simple pieces and a few spots to sew on.
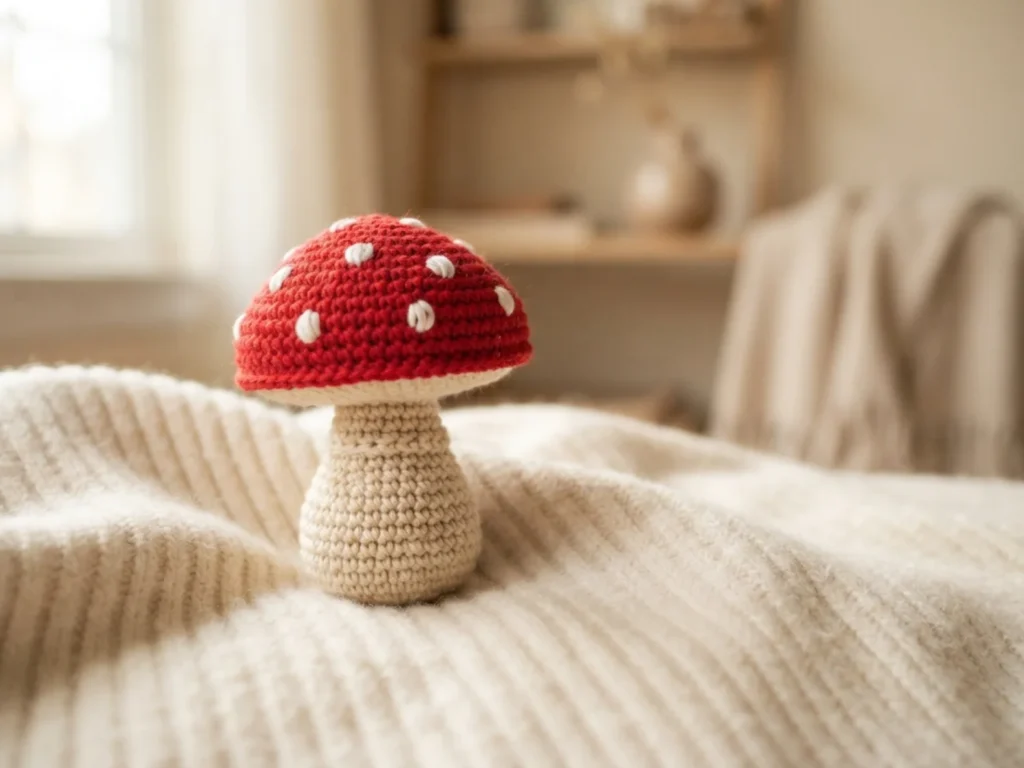
This little mushroom stands about 7cm tall once finished, worked entirely in the round in single crochet. If you can make a magic ring and count to six, you’re ready to start.
Most amigurumi patterns ask a beginner to juggle a lot at once — a head, a body, two arms, two legs, a face, all shaped and sewn together in the right proportions. That’s a lot to hold in your head on a first project, and it’s why so many people start an amigurumi animal and never finish it. This mushroom strips all of that away. There are exactly two pieces that need shaping — a dome and a cylinder — plus a handful of flat circles that need no shaping at all. You get the full experience of working in continuous spiral rounds, following increase and decrease sequences, and assembling a finished 3D shape, without any of the parts that usually trip people up.
That makes it a genuinely useful pattern even if amigurumi isn’t your main interest. The cap uses the exact same increase formula (6, 12, 18, 24, 30, 36) that forms the base of nearly every amigurumi sphere — heads, bodies, bellies, all of it. Practice it here on something low-stakes, and it’ll feel automatic by the time you’re shaping a face on a bigger project.
Finished, it’s sturdy enough to sit on a shelf or desk without stuffing, small enough to tuck into a card as a handmade gift topper, and quick enough to make a small cluster of them in an afternoon — a woodland-themed trio in different sizes looks great on a bookshelf or as a centerpiece. It also happens to be an easy one to teach to a kid or a crochet-curious friend: no face to get wrong, no proportions to fuss over, just rounds and a bit of sewing.
What’s inside
- Full materials list with suggested colors and quantities
- Every stitch explained with a full stitch key
- Round-by-round instructions for the cap, stem, and spots
- Step-by-step assembly guidance
- Tips for getting the mushroom shape right
Who this is for
Complete beginners who want a real finished project, not just a swatch. Also great as a first “shape only” make before moving on to amigurumi with limbs and faces — or as a quick, low-commitment pattern to teach someone else the basics.
Instant PDF-style pattern, free forever — no login, no email required. Read it on your phone, tablet, or print it out, whichever you crochet best with. 🍄
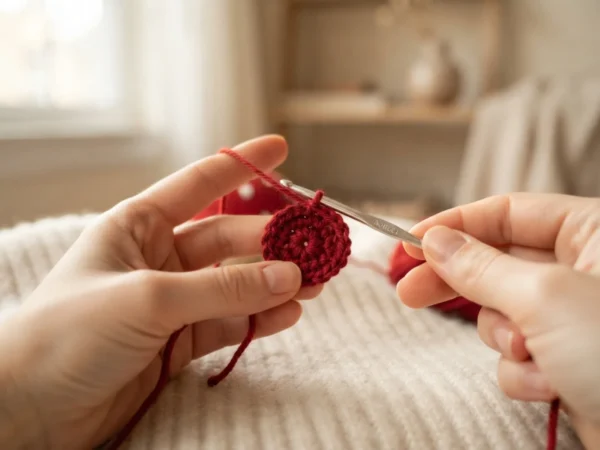
Starting rounds — magic ring and first increases
Why You'll Love This Pattern 💛
Every round has been tested and counted precisely — the cap's six increase rounds land exactly where they need to for a proper dome shape, not a lopsided one. What you see in the photo is exactly what you'll get if you follow the counts.
There's no face to get wrong and no limbs to position symmetrically, so the two things that usually make beginners anxious about amigurumi simply aren't part of this pattern. If a round comes out slightly uneven, it's hidden inside the shape rather than staring back at you.
And because it's small and fast, you get the full satisfaction of a finished, standalone object — not a swatch, not a practice piece — in a single sitting. That's rare for a first amigurumi project, and it's exactly why this pattern exists.
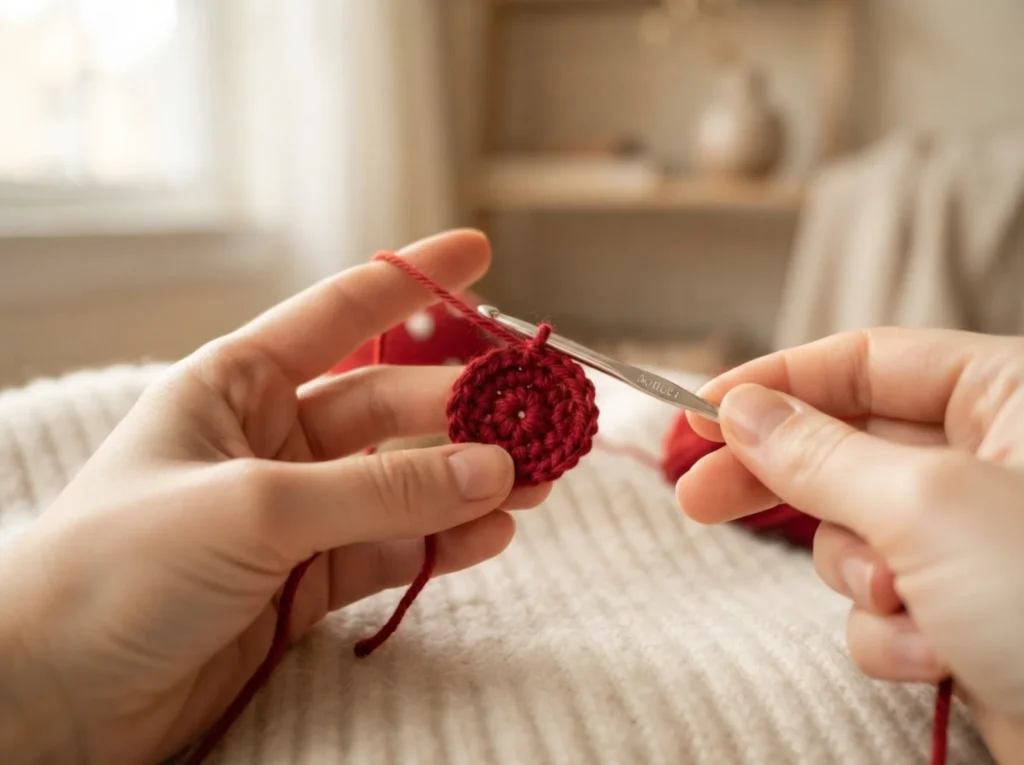
Shaping with increases — building the body
Switch Things Up 🎨
Try different cap colours for different mushroom varieties — brown and cream for a classic woodland toadstool, orange for a chanterelle look, or even a soft pastel for something more whimsical. The construction stays exactly the same, only the yarn colour changes.
Want a bigger or smaller mushroom? Use bulkier yarn with a 5–6mm hook for a doorstop-sized version, or thin sport-weight yarn with a smaller hook for a tiny keyring charm. The stitch counts stay identical — only the finished size changes.
Skip the spots entirely for a plain button mushroom, or add more than five for a heavily speckled look. You can also make a small cluster of three or four in different sizes and colours — they look wonderful displayed together as a little mushroom family.
Colour variations — personalise your make
Common Mistakes & How to Fix Them 🔧
Use a stitch marker at the very first stitch of every round and move it up each time. With no face or limbs to orient by, it's easy to lose your place — the marker is your only landmark.
Too much stuffing rounds the cap out into a ball and hides the mushroom silhouette. Stuff it just enough to hold shape — firmer stuffing belongs in the stem, not the cap.
Your hook is too large for your yarn — go down one size. Tight, firm tension is correct for amigurumi; if stuffing peeks through the stitches, the fabric is too open.
Even a small offset makes the finished mushroom lean or tip over. Sew the stem to the exact centre of the cap's opening, and check it's standing straight before fastening off completely.
This is normal for a small flat circle worked in the round — it naturally curls. Pin each spot flat before sewing rather than fighting the curl with the needle.
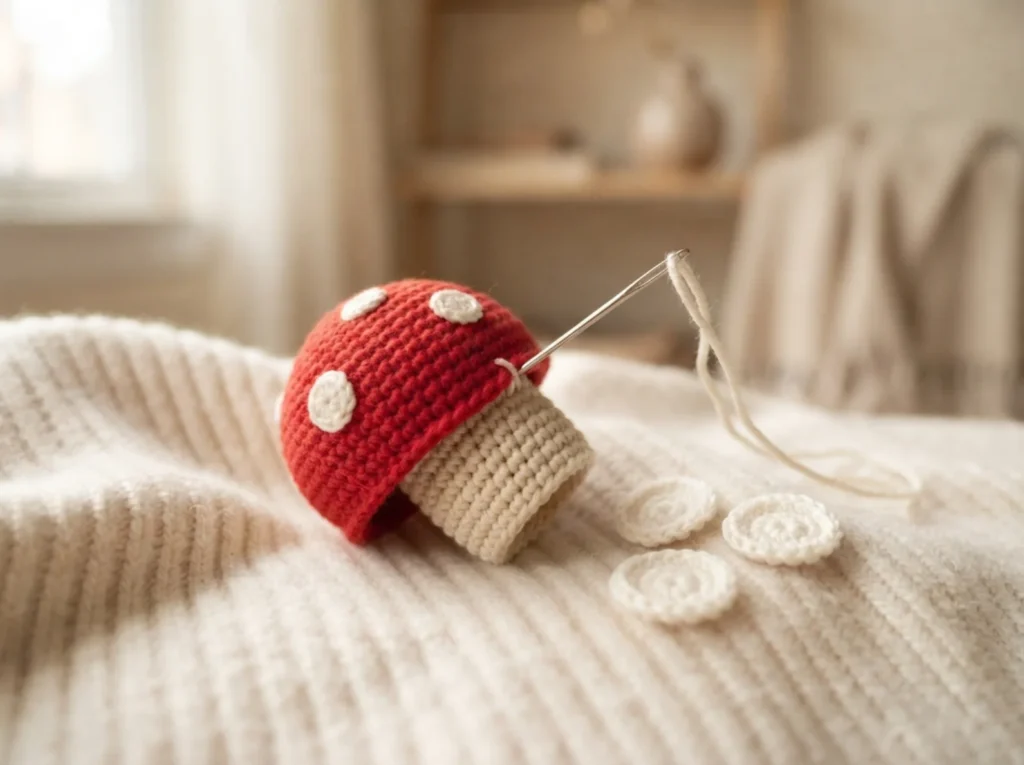
Assembly stage — pinning pieces before sewing
Materials Needed for Mini Mushroom Amigurumi — Free Crochet Pattern
🧶YARN
Worsted weight yarn (~15g). Suggested: red, orange, or brown.
Worsted weight yarn in cream or tan (~10g).
Small amount of white yarn (~5g).
🪝TOOLS & NOTIONS
(or size appropriate for your yarn)
(~15–20g)
— Gauge:
18 sc = 4 inches in sc
— Finished Size:
~7 cm tall
— Yarn Weight:
Worsted
— Hook:
3.5mm
— Terms:
US Crochet Terminology
— Cost:
FREE ✓
Crochet Abbreviations
Mini Mushroom Amigurumi — Free Crochet Pattern — Full Pattern
🧶CAP (bright colour — red, orange, or brown)
🧶STEM (cream or tan)
🧶SPOTS (Make 4–5, white)
🧶ASSEMBLY
Assembly & Finishing Tips
💡 Stuffing balance
Stuff the stem firmly but the cap only lightly — this contrast is what gives it a real mushroom silhouette instead of a round ball.
💡 Centering the stem
Sew the stem dead-center under the cap. Even a slight off-center placement will make the finished mushroom lean.
💡 Tracking your rounds
Use a contrasting stitch marker on Round 1 of each piece — with no shaping landmarks like a face, it's easy to lose track of where a round starts.
💡 Flattening the spots
If your spots keep curling, that's normal for a flat single-round circle. Pin them down before sewing rather than trying to sew a curled piece flat.
💡 Weaving in ends
Weave in ends through the inside of the piece, not along the surface — this keeps the smooth mushroom silhouette intact.
⚠️ Important Notes
- Use stitch markers at the start of every round — don't rely on memory to count.
- Work with consistent tension throughout. Gauge swatch before starting if in doubt.
- Fasten off leaving long tails for sewing — at least 30cm for each piece you'll need to attach.
- Pin and check positioning of all pieces before sewing any of them permanently.
Beginner's Guide to Amigurumi 🌱
Amigurumi (Japanese: ami = knitted/crocheted + nuigurumi = stuffed toy) is the craft of making small crocheted characters. You start with a magic ring, work in continuous spiral rounds of single crochet, and shape the piece through increases and decreases — no seams, no joins, no turning.
The magic ring creates a closable centre with no hole. Wrap yarn around two fingers, insert the hook, yarn over and pull through. Work your first round into this ring, then pull the tail to close tight. Practise a few times — it becomes effortless quickly.
The invisible decrease — insert your hook through the front loop only of the first stitch, then the front loop only of the second stitch. Yarn over, pull through both loops, then yarn over again and pull through the remaining two. Working through front loops only makes the decrease blend into the fabric instead of leaving a bump.
Tension matters most. Amigurumi needs tight, firm tension so stuffing can't show through. If you can see white fiberfill peeking between your stitches, go down one hook size. The fabric should feel dense and firm — like a tightly woven canvas, not a loose net.
The finished Mini Mushroom Amigurumi — Free Crochet Pattern — ready to gift or display
You Ask, We Answer ❓
Completely and permanently free — no login, no email, no payment. Read online, print, or save to your phone. The only ask: don't redistribute or resell the written pattern itself.
Yes — you're welcome to sell handmade finished items crocheted from this pattern. Please credit Cozy Amigurumi as the pattern source when sharing online.
Yes, if the stem is stuffed firmly. A loosely stuffed stem will make it lean or flop over, so pack the stuffing in tightly, especially near the base.
Yes. This pattern uses worsted (medium) weight yarn, but you can use a lighter or bulkier yarn — just size your hook down or up to match, and expect a smaller or larger finished mushroom.
The pattern suggests 4–5, but it's entirely up to you. Fewer spots gives a cleaner look, more spots gives a classic toadstool feel. Try it both ways and see which you prefer.
You've likely over-stuffed it. The cap only needs light stuffing — just enough to hold its shape. Too much filling pushes the rim outward and rounds off the flat underside.
Yes — this pattern doesn't use a face at all, which is part of what makes it such a fast, beginner-friendly make.